 Save to Pinterest
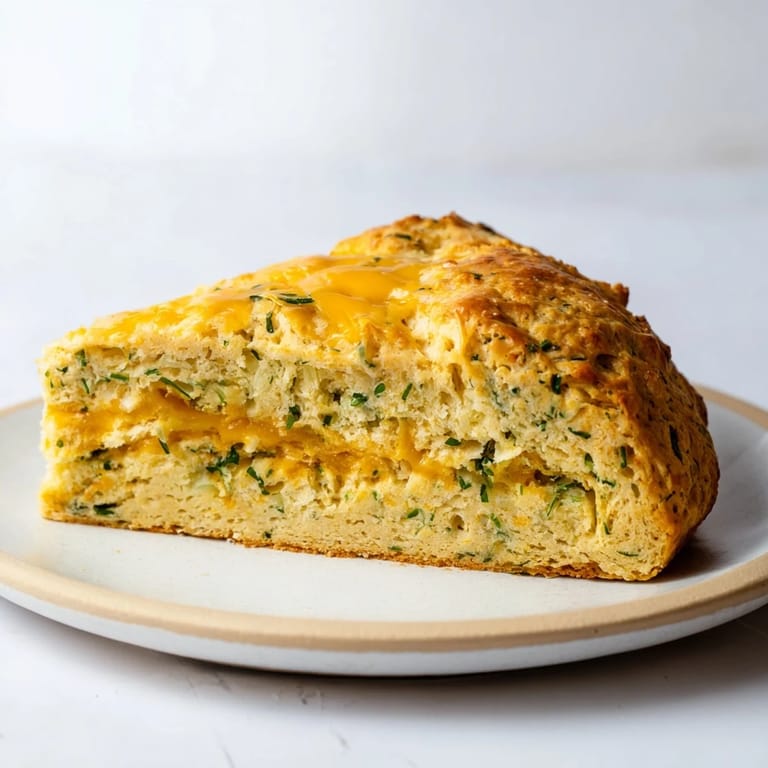
 I used to think scones were strictly sweet until a friend served these at a rainy Sunday brunch. The smell of melted cheddar hit me before I even sat down, and I couldn't stop at one. Now I make them on slow mornings when I want something that feels special but doesn't ask for much effort.
The first time I brought these to a potluck, someone asked if I'd ordered them from a cafe. I didn't correct her right away. There's something quietly satisfying about food that tastes more complicated than it actually is, especially when you're standing there with flour still on your sleeve.
Ingredients
- All-purpose flour: This gives the scones structure without making them heavy, and I've learned not to pack the measuring cup or they turn out dry.
- Baking powder and baking soda: The combination makes them rise quickly and gives a tender crumb, but both need to be fresh or the lift disappears.
- Cold unsalted butter: Keeping it cold is the secret to flaky layers, and I cube it straight from the fridge so it doesn't melt into the dough too soon.
- Sharp cheddar cheese: The sharper the better, because mild cheddar gets lost once baked, and I always grate it myself for better melt and flavor.
- Buttermilk: It adds tang and keeps the texture light, and I've started keeping a carton in the fridge just for mornings like this.
- Fresh chives: They bring a mild onion flavor that doesn't overpower, and using them fresh makes all the difference compared to dried.
- Heavy cream: Brushing it on top creates a beautiful golden shine and a slight richness that makes them look bakery perfect.
Tired of Takeout? 🥡
Get 10 meals you can make faster than delivery arrives. Seriously.
One email. No spam. Unsubscribe anytime.
Instructions
- Prep your oven and pan:
- Preheat to 400°F and line a baking sheet with parchment so nothing sticks. I learned this the hard way after scraping cheese off a pan for twenty minutes.
- Mix the dry base:
- Whisk flour, baking powder, baking soda, salt, and pepper until evenly combined. It only takes a few seconds but it prevents clumps and uneven rise.
- Cut in the butter:
- Add cold cubed butter and work it in with a pastry cutter or your fingers until it looks like coarse sand with some pea-sized pieces. Those little bits of butter create the flaky layers.
- Fold in cheese and chives:
- Stir them through gently so they're evenly distributed. I like seeing green flecks throughout the dough.
- Combine wet ingredients:
- Whisk buttermilk and egg together in a small bowl, then pour into the flour mixture. Stir just until everything comes together and stop before it gets smooth.
- Shape the dough:
- Turn it onto a floured surface and pat it into a round about an inch thick. Don't roll it or press too hard, or you'll lose the tender texture.
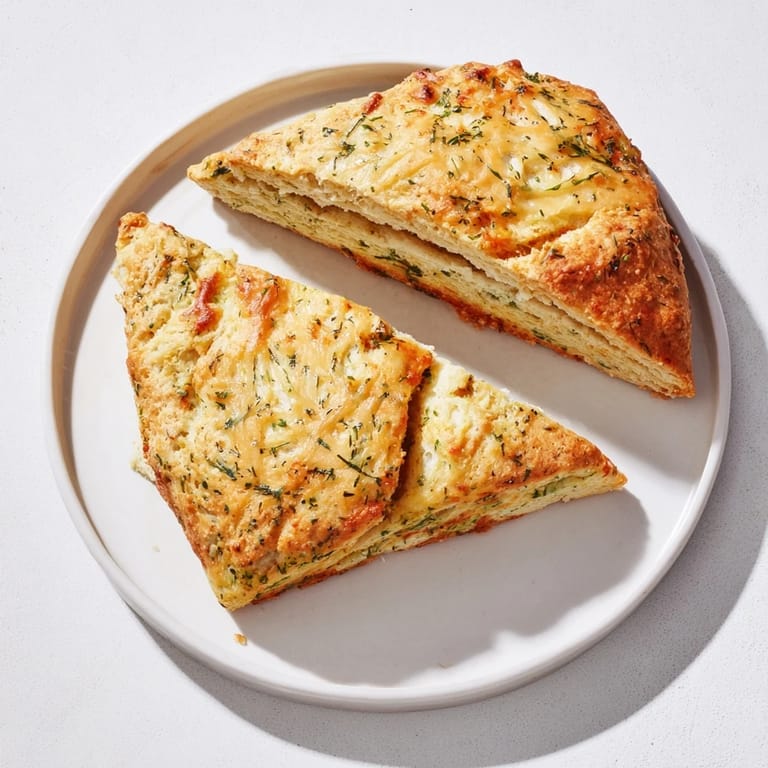
- Cut into wedges:
- Slice into 8 pieces like a pie and space them on the baking sheet. They'll puff and spread slightly as they bake.
- Brush and top:
- Use a pastry brush to coat the tops with cream, then sprinkle extra cheddar if you want a cheesy crust. It's optional but I always do it.
- Bake until golden:
- Slide them into the oven for 16 to 18 minutes, watching for golden edges and a firm top. Let them cool for a few minutes before serving so you don't burn your tongue on molten cheese.
 Save to Pinterest
 One morning my neighbor smelled these baking and knocked on the door to ask what I was making. I handed her one still warm from the oven, and now she texts me whenever she's having people over. It's become our little tradition, and I don't mind at all.
Storing and Reheating
These keep for two days in an airtight container at room temperature, but they're best eaten within a few hours of baking. I freeze extras in a zip-top bag and reheat them straight from frozen in a 325°F oven for about 10 minutes. They come back almost as good as fresh, especially if you brush them with a little butter before warming.
Flavor Variations
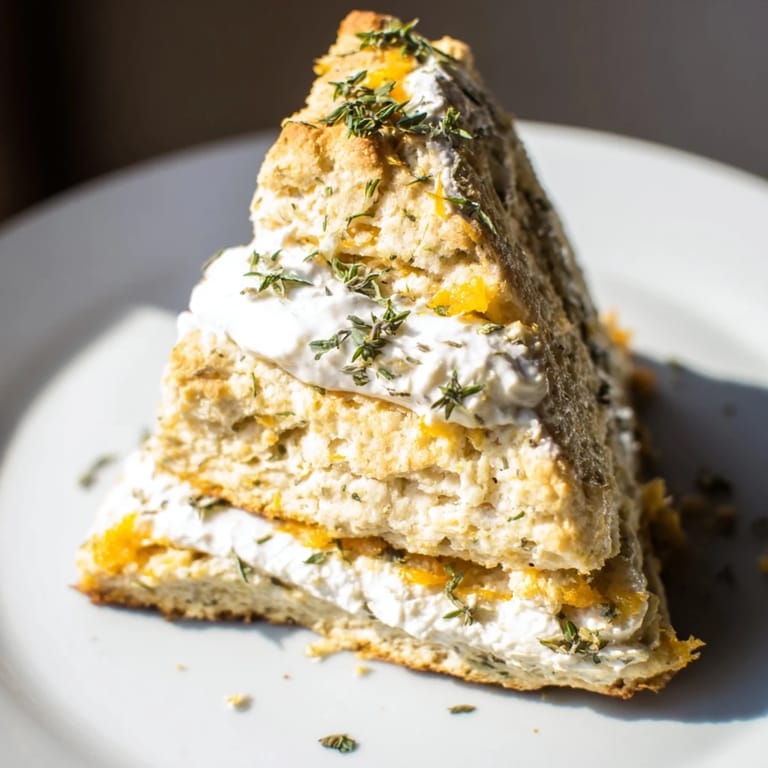
I've swapped the chives for rosemary and added crumbled bacon, and I've also tried them with Gruyere and thyme. A pinch of cayenne or smoked paprika mixed into the dry ingredients gives them a subtle warmth that pairs well with the cheese. You can even fold in sun-dried tomatoes or caramelized onions if you want something a little richer.
Serving Suggestions
I like to split them open and spread softened butter or a spoonful of crème fraîche inside while they're still warm. They're perfect alongside scrambled eggs, a bowl of soup, or just with coffee on a quiet morning. Sometimes I serve them at dinner instead of rolls, and no one ever complains.
- Pair them with a simple green salad for a light lunch.
- Serve alongside tomato soup or chowder for a cozy meal.
- Pack them in a napkin for an easy breakfast on the go.
 Save to Pinterest
 There's something about pulling a tray of these from the oven that makes the whole house feel warmer. I hope they become part of your mornings too.
Recipe FAQs
- → What gives the scones their tenderness?
Cold butter cut into the dry ingredients creates a flaky, tender texture by forming small pockets of fat within the dough.
- → Can I substitute buttermilk in the mixture?
Yes, use regular milk with a splash of lemon juice or vinegar to mimic buttermilk's acidity and achieve similar results.
- → How do fresh chives enhance the flavor?
Fresh chives add a mild oniony, herbal note that balances the sharpness of the cheddar cheese.
- → What is the best way to cut the dough?
Pat the dough into a 1-inch thick round and cut into eight wedges for even baking and classic presentation.
- → Should I use pre-shredded cheese or block cheese?
Grated block cheese is preferred for better melting and flavor, but pre-shredded can be used if checked for additives.