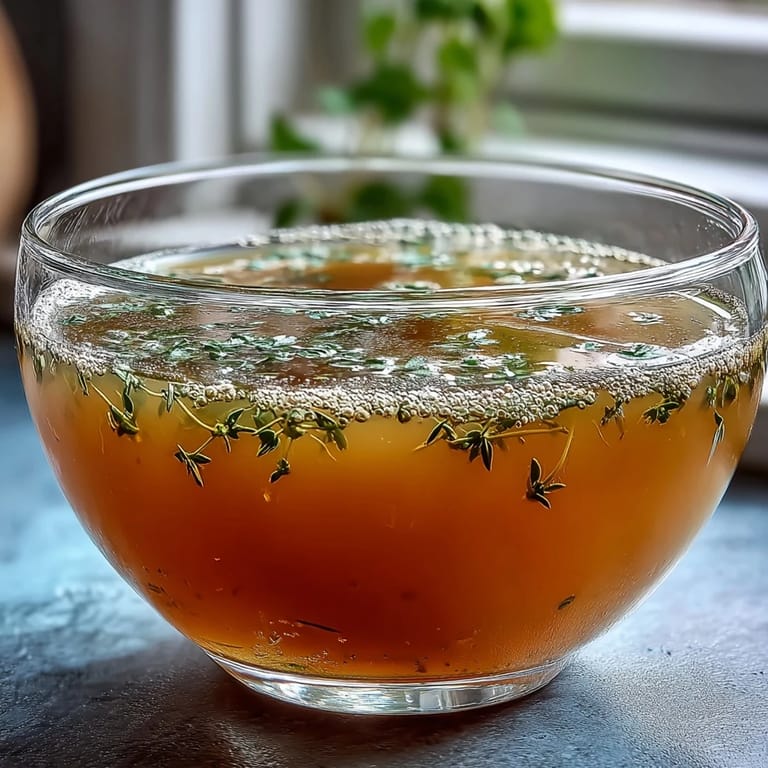
 Save to Pinterest
 The rhythmic chopping on my kitchen board stopped the day I realized the vibrant vegetable scraps I was about to discard could transform into liquid gold. My grandmother would have called it "kitchen wisdom" - that moment when you understand food never truly needs to be wasted. The gentle simmer of my first vegetable scrap broth filled my apartment with an aroma so comforting I had to call a friend just to share what I'd discovered. Now, saving vegetable trimmings in a freezer bag has become second nature.
Last winter, when my neighbor caught a terrible cold, I brought over a steaming mug of this broth with a twist of lemon. She called me the next day, voice stronger, asking for the recipe. I confessed it came from bits I almost threw away, and we laughed at how the most healing things can come from the most unexpected places. Now she saves her scraps too, and sometimes we combine our collections for community soup nights.
Ingredients
- 4 cups assorted vegetable trimmings: The heart and soul of this broth - I keep a dedicated freezer bag for carrot peels, onion ends, celery leaves, mushroom stems, and leek tops until I have enough for a batch.
- Bay leaf: Just one leaf imparts a subtle earthiness that rounds out the vegetable flavors without overwhelming them.
- Black peppercorns: These little flavor bombs release their warmth slowly during simmering, creating depth without spiciness.
- Cold water: Starting with cold rather than hot water allows the vegetables to release their flavors gradually as the temperature rises.
- Optional aromatics: Fresh thyme sprigs, garlic cloves, or a small amount of salt can be customized to your taste preferences and what you plan to use the broth for.
Tired of Takeout? 🥡
Get 10 meals you can make faster than delivery arrives. Seriously.
One email. No spam. Unsubscribe anytime.
Instructions
- Collect your veggie treasures:
- Gather clean, fresh scraps in a large bowl, avoiding bitter or starchy vegetables like potato peels, broccoli stems, or cabbage ends. I run my fingers through them quickly, just making sure there's nothing that shouldn't be there.
- Build your flavor base:
- Add your vegetable collection to a large stockpot along with the bay leaf, peppercorns, and any other aromatics. The pot might look oddly colorful, like a garden in miniature.
- Add the cold water:
- Pour cold water over everything until all scraps are swimming happily. I sometimes tap the pot gently to help everything settle.
- Bring to life:
- Heat the pot over medium-high until you see the first bubbles breaking the surface, then reduce to a gentle simmer where the liquid is just barely moving. You want to coax the flavors out, not boil them away.
- Let magic happen:
- Allow everything to simmer uncovered for 45-60 minutes. Occasionally skim off any foam that rises to the surface with a spoon.
- Taste test:
- After simmering, dip a clean spoon in to taste, adding a small pinch of salt if needed. The broth should taste like vegetables concentrated into pure essence.
- Strain and store:
- Pour the broth through a fine-mesh sieve or cheesecloth into clean containers, watching the clear amber liquid emerge. It's always a little moment of triumph.
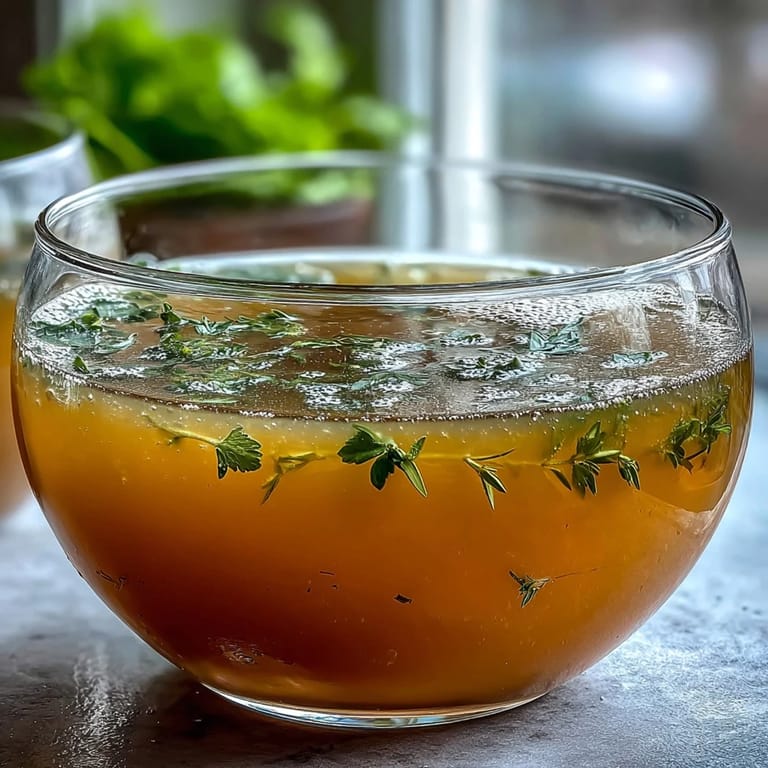 Save to Pinterest
 One evening while battling a deadline, I found myself sipping a mug of warm vegetable broth instead of my usual tea. The simple act transformed my workspace into something kinder, more intentional. I noticed my shoulders relaxing as the steam rose toward my face. Since then, this broth has become my creative fuel, a reminder that nourishment can come from the most humble beginnings, much like good ideas.
Freezing Your Liquid Gold
I learned to freeze portions of my broth in ice cube trays, then transfer the frozen cubes to a freezer bag once solid. This method gives me the freedom to use small amounts for deglazing a pan or adding a splash of flavor to a sauce without thawing an entire container. The cubes melt in minutes when added to a hot pan, carrying their concentrated vegetable essence into whatever I'm cooking.
Enhancing Your Broth
Experimenting with roasting the vegetable scraps before simmering changed my broth game entirely. That extra twenty minutes in a hot oven brings out caramelized flavors and deeper colors, transforming an already good broth into something with restaurant-quality richness. I toss the scraps with just a tiny splash of olive oil, spread them on a baking sheet, and roast at 400°F until the edges start darkening and the kitchen smells incredible.
Stretching Your Ingredients
When vegetable scraps are scarce but broth is needed, I supplement with whole vegetables past their prime - the slightly soft carrot, the forgotten celery stalk, or the last onion starting to sprout. These older vegetables might not shine in a salad but still have tremendous flavor to offer in a broth. Their willingness to transform reminds me that everything has potential in the right context.
- Keep a dedicated container in your freezer and add scraps as you cook throughout the week until you have enough for a batch.
- Label your stored broth with the primary vegetables used so you can match the flavor profile to future recipes.
- Consider the final use when seasoning - leave broth intended for sweet-leaning recipes like butternut squash soup completely unsalted.
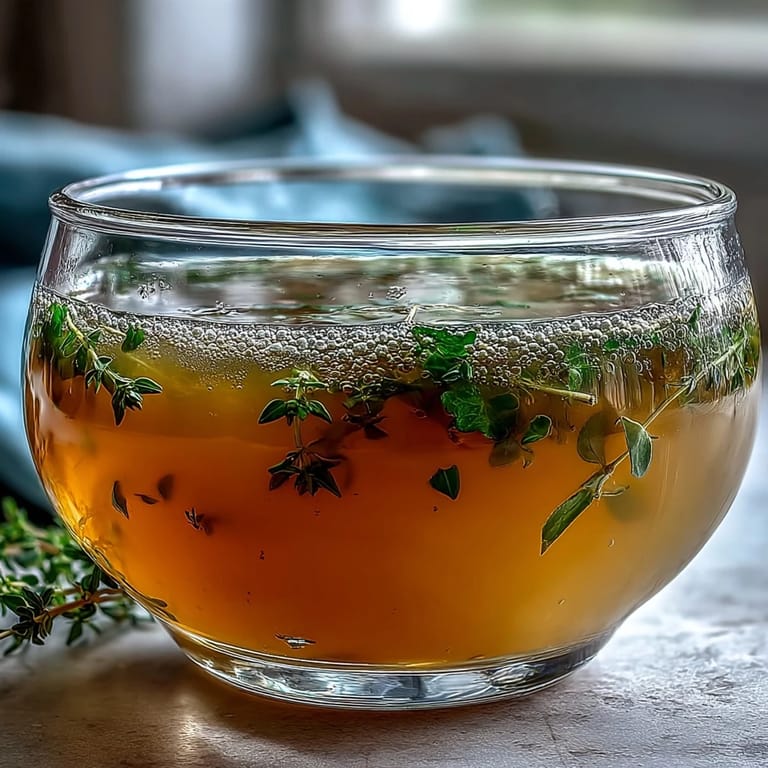 Save to Pinterest
 This humble broth reminds us that value exists where we might not immediately see it. Whether sipped alone for restoration or used as the foundation for your next culinary creation, it carries the quiet satisfaction of mindfulness and care.
Recipe FAQs
- → What vegetables should I avoid adding to the broth?
Avoid potato peels, brassicas (broccoli, cauliflower, cabbage), and overly starchy or sweet vegetables. These can introduce bitterness or cloudiness to your finished liquid. Stick with carrot peels, onion skins, celery ends, leek tops, mushroom stems, and fresh herb stems for the best results.
- → How long can I store this in the refrigerator or freezer?
Keep refrigerated in airtight containers for up to 5 days. For longer storage, freeze for up to 3 months. Consider freezing in ice cube trays for convenient portioning when you need small amounts for deglazing pans or adding depth to sauces.
- → Can I make this more flavorful?
Absolutely. Roast your vegetable scraps at 200°C (400°F) for 20 minutes before simmering to develop deeper, caramelized flavors. You can also add a piece of kombu seaweed or dried mushrooms for extra umami richness.
- → Why should I avoid adding salt during the cooking process?
Leaving salt out or using it minimally allows you to control the sodium level when using this as a base for other dishes. If you're reducing the liquid or adding salty ingredients later, starting unsalted prevents over-seasoning your final creation.
- → What's the best way to strain this for a clear result?
Use a fine-mesh sieve or line your strainer with cheesecloth for the clearest liquid. Pour slowly and don't press down on the solids—this can force cloudy particles through. For extra clarity, strain twice through fresh cheesecloth.
- → Can I mix fresh and frozen vegetable scraps?
Yes, frozen scraps work perfectly fine. Keep a bag in your freezer to collect trimmings throughout the week, then make a batch when you have enough. Freezing can actually help break down cell walls, potentially extracting more flavor during simmering.