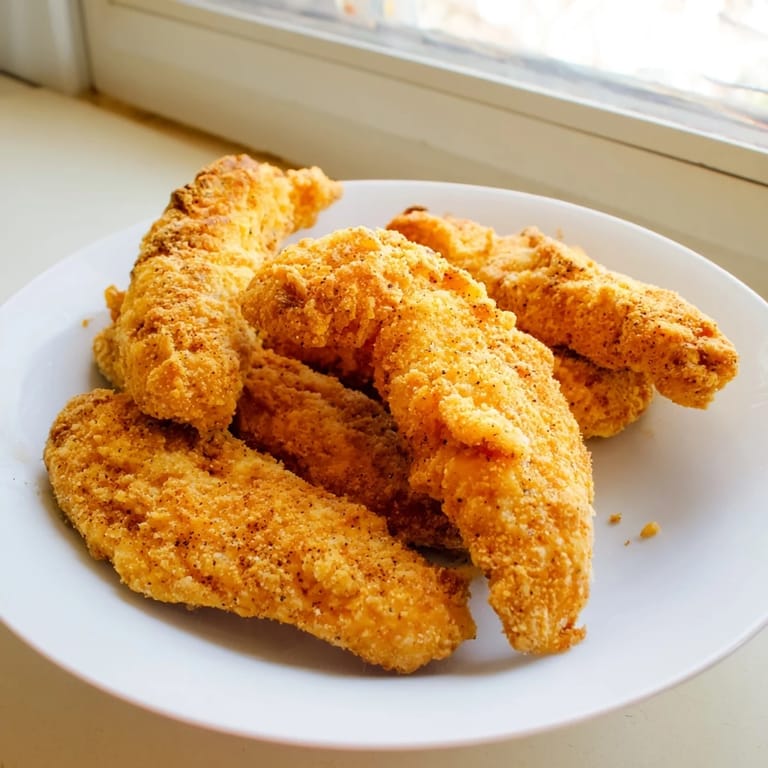
 Save to Pinterest
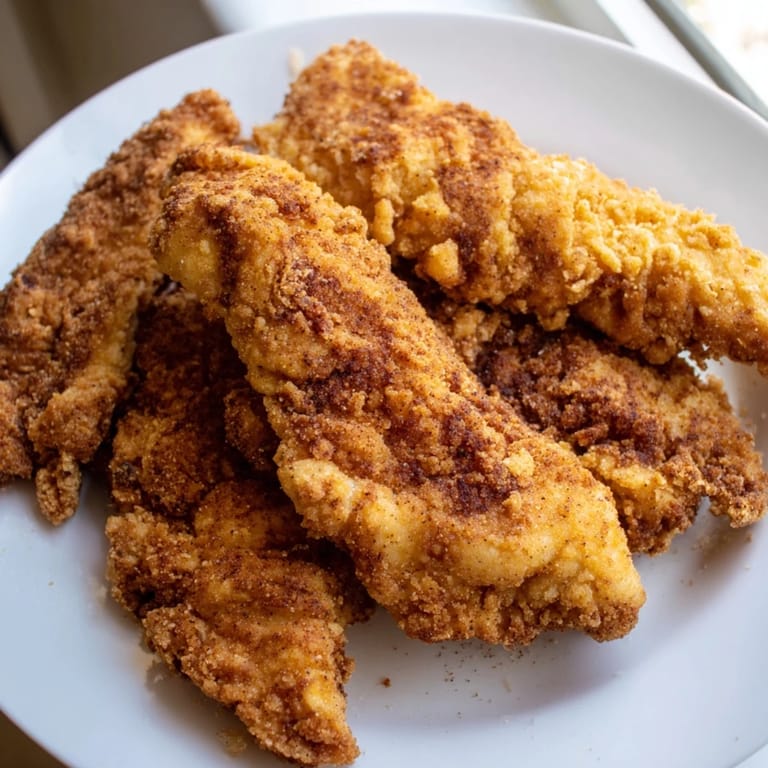
 The oil was shimmering in the pan, and I could hear my neighbor through the kitchen window asking what smelled so good. I was testing a new batch of chicken tenders, trying to get that buttermilk tang just right without overpowering the crisp. By the third piece, I knew I had it. The crust shattered when I bit in, and the chicken stayed impossibly juicy inside. That evening turned into an impromptu backyard dinner, and I've been making these tenders the same way ever since.
I made these for my nephew's birthday last spring, and he insisted on helping with the dredging station. Flour ended up everywhere, including his hair, but he was so proud when the first batch came out golden. He kept sneaking pieces before I could plate them. Watching him taste something he helped make, eyes wide at the crunch, reminded me why I love cooking for people.
Ingredients
- Chicken tenders: These cook faster than breasts and stay juicy, look for pieces that are roughly the same size so they finish together.
- Buttermilk: The acidity breaks down the meat gently and adds a subtle tang that balances the richness of frying.
- Garlic powder and onion powder: I learned to add these to the marinade, not just the flour, because it seasons the meat all the way through.
- All-purpose flour: The base of your crust, it crisps beautifully and holds onto all those spices.
- Paprika: Gives the tenders that warm, rusty color and a hint of sweetness.
- Cayenne pepper: Optional, but even a small amount adds depth without heat if you're cautious.
- Baking powder: This was my secret weapon, it aerates the crust and makes it shatter when you bite.
- Vegetable oil: Neutral flavor and a high smoke point, perfect for frying at steady heat.
Tired of Takeout? 🥡
Get 10 meals you can make faster than delivery arrives. Seriously.
One email. No spam. Unsubscribe anytime.
Instructions
- Marinate the chicken:
- Whisk the buttermilk with salt, pepper, garlic powder, and onion powder until smooth, then toss in the chicken tenders and make sure every piece is coated. Cover the bowl and let it sit in the fridge for at least an hour, though overnight is even better if you have the time.
- Prepare the coating:
- In a shallow dish, combine the flour, paprika, salt, pepper, cayenne, and baking powder, mixing with a fork to break up any clumps. This dry mixture is where all the texture magic happens.
- Heat the oil:
- Pour oil into your skillet or Dutch oven until it's about 5 cm deep, then heat it over medium-high until it reaches 175 degrees Celsius. Use a thermometer if you have one, it takes the guesswork out.
- Dredge the tenders:
- Lift each tender from the marinade, let the excess buttermilk drip back into the bowl, then press it firmly into the flour mixture on both sides. The pressing step is key, it helps the crust stick and stay crispy.
- Fry in batches:
- Slide the coated tenders gently into the hot oil, working in batches so the pan isn't crowded, and fry for 4 to 5 minutes per side until deep golden. When you pull them out, the internal temperature should read 75 degrees Celsius.
- Drain and rest:
- Move the fried tenders to a plate lined with paper towels and let them sit for a couple of minutes. This brief rest lets the juices settle and the crust firm up just a touch more.
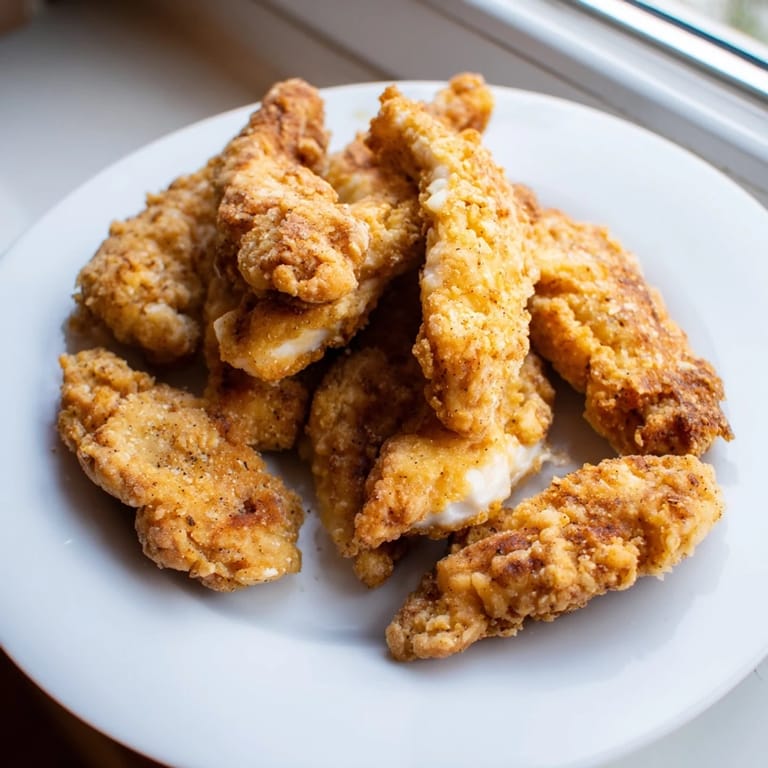
 Save to Pinterest
 One Sunday afternoon, I brought a platter of these to a potluck and they disappeared before the salads were even set out. A friend pulled me aside later and asked if I'd bought them from a restaurant. I just laughed and told her it was buttermilk and a little patience. That compliment felt better than any five-star review, because it meant the recipe had done its job without any fuss.
Getting That Extra Crunch
If you want an even thicker, crunchier crust, try the double-dip method. After the first coat of flour, dunk each tender back into the buttermilk, then dredge it again in the seasoned flour. The extra layer creates ridges and pockets that fry up incredibly crisp. It takes a few more minutes, but the texture payoff is worth it when you're feeding a crowd or just want to impress yourself.
Serving Suggestions
These tenders are perfect on their own, but I love pairing them with honey mustard, ranch, or a tangy barbecue sauce. You can also slice them over a salad, tuck them into a wrap with pickles and hot sauce, or serve them alongside coleslaw and cornbread for a full Southern-style plate. However you serve them, they're best enjoyed hot and fresh from the pan.
Storage and Reheating
Leftovers can be stored in an airtight container in the fridge for up to three days. To bring back that crispy crust, reheat them in a 200-degree oven for about 10 minutes instead of using the microwave, which will make them soggy. If you want to freeze them, let the tenders cool completely, then wrap them individually and freeze for up to a month.
- Always bring leftover chicken back to room temperature before reheating for even warmth.
- A wire rack in the oven keeps air circulating and the crust from steaming.
- Frozen tenders can go straight into the oven, just add a few extra minutes to the reheating time.
 Save to Pinterest
 This recipe has become my go-to whenever I need something reliable, comforting, and a little bit celebratory all at once. I hope it brings the same easy joy to your table that it's brought to mine.
Recipe FAQs
- → How long should I marinate the chicken?
Marinate for at least 1 hour in the refrigerator for optimal flavor infusion. For even better results, marinate overnight. The buttermilk tenderizes the meat while adding tanginess to every bite.
- → What oil temperature is best for frying?
Heat oil to 175°C (350°F) for perfectly cooked chicken. Use a cooking thermometer to ensure accuracy. Oil that's too cool produces greasy results, while oil that's too hot burns the exterior before the interior cooks.
- → How can I make them extra crispy?
Use the double-dip method: after the initial flour coating, dip tenders back into buttermilk, then coat with flour again. The baking powder in the dry mixture also enhances crispness by creating tiny air pockets in the crust.
- → Can I make a gluten-free version?
Yes, simply substitute all-purpose flour with a certified gluten-free flour blend in the same quantity. The coating will work identically, maintaining the same crispness and golden color.
- → How do I know when the chicken is fully cooked?
Fry for 4-5 minutes per side until golden brown. For accuracy, check the internal temperature with a meat thermometer—it should reach 75°C (165°F). Don't rely on color alone, as the outside can brown before the inside cooks through.
- → What dipping sauces pair well?
Classic options include honey mustard, ranch dressing, and barbecue sauce. Spicy lovers can enjoy sriracha mayo or hot sauce. Serve sauces chilled alongside the hot chicken for temperature contrast.